5 Color Correcting Mistakes That Instantly Ruin Your Makeup (and fixes)
You’ve heard that orange color corrector is the key to covering under-eye circles and hyperpigmentation for a flawless makeup base. So you tried it, and instead of that smooth, even complexion you were promised, you ended up looking like a pumpkin. Yeah, I’ve been there before.
The truth is, orange color corrector can be a game-changer to cover hyperpigmentation if done correctly. But most of us make some pretty major mistakes that turn what should be a flawless base into something that screams “I have no idea what I’m doing.” Here are 5 mistakes you might be doing.
What is Color Correction?
Before we dive into the fixes, let’s get clear on what color correction actually is. Color correction is a makeup technique that uses color theory to neutralize discoloration and even out your skin tone. Think of it as makeup’s version of art class color theory. Remember that color wheel you learned about in elementary school? Same concept, but for your face. The idea is brilliantly simple: colors that sit opposite each other on the wheel cancel each other out. So when you’ve got blue or purple-toned dark circles making you look like you haven’t slept in weeks, orange steps in as the hero to neutralize those unwanted tones.
Color correctors typically come in 4 main shades: orange, peach, green and pink. And just like when you’re shopping for foundation or concealer, choosing the right color corrector isn’t a guessing game. It depends entirely on your skin tone, your undertones, and yes, even the undertones of the corrector itself.
Here’s your quick reference for what imperfection each color tackles:
| Color Corrector | Neutralizes | Best For |
|---|---|---|
| Orange/Peach | Blue, Purple | Under-eye circles, some hyperpigmentation |
| Green | Red | Acne, rosacea, red blemishes |
| Pink/Lavender | Yellow, Sallowness | Brightening dull areas |
| Red/Deep Orange | Very Dark Spots | Severe hyperpigmentation, melasma |
Now that you know what each color does, here are my tried-and-true favorites that actually work
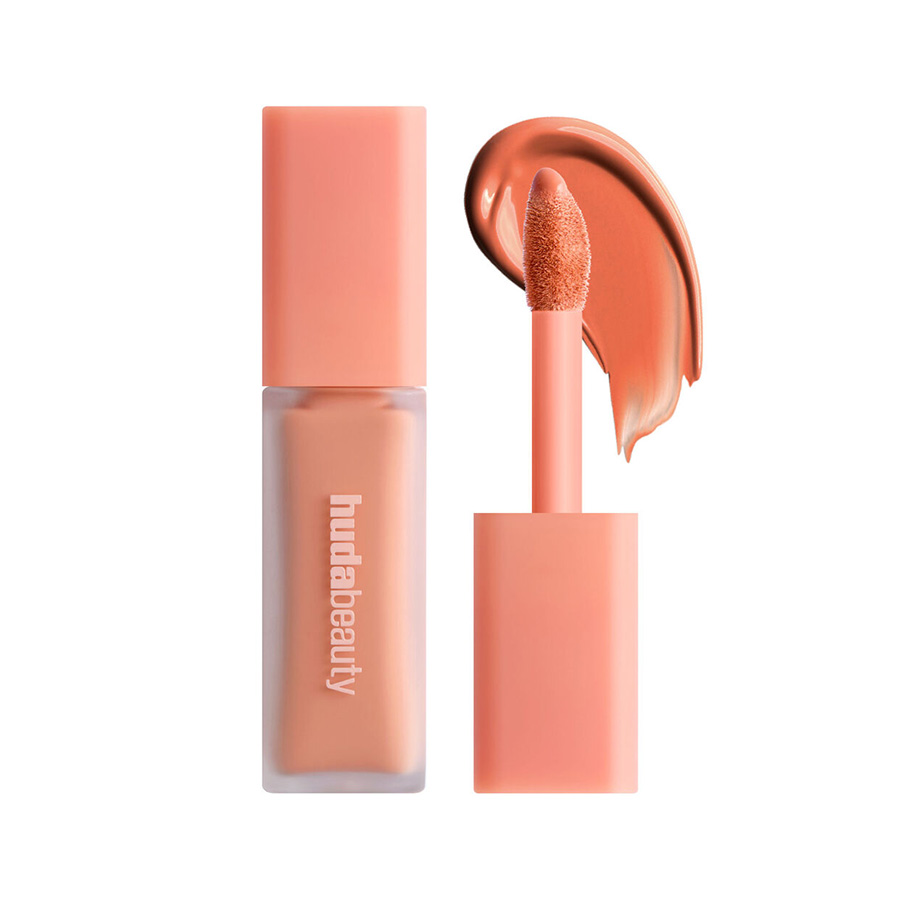
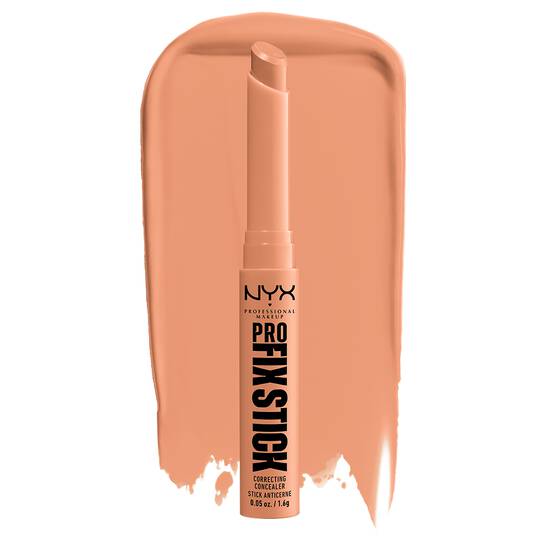
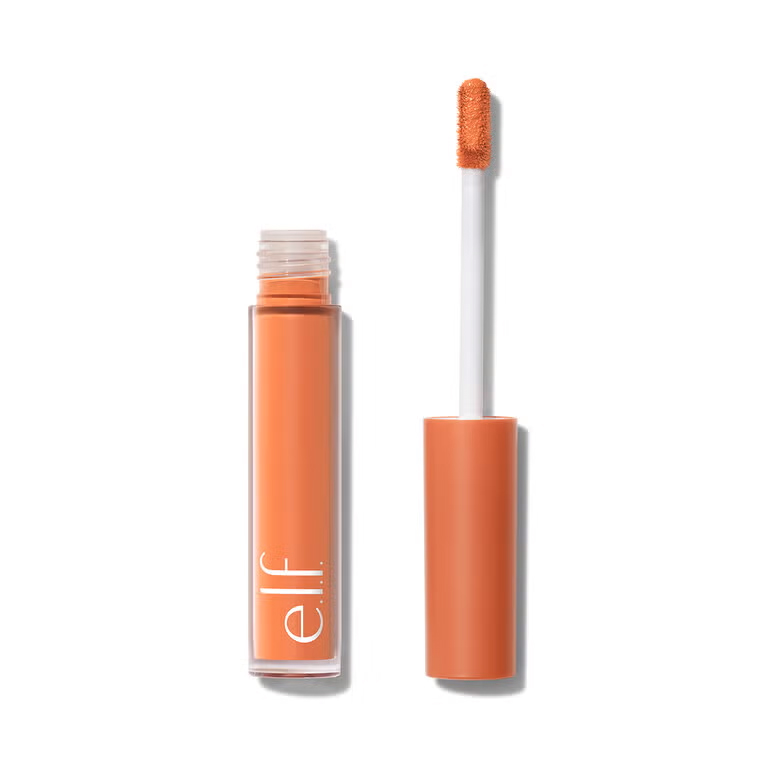
You’ll find color correctors in both liquid and cream formulas, and honestly, both have their place in your makeup bag. Creams tend to cover more. They’re your heavy-duty options. Liquids are more lightweight, best for everyday use. Choose based on how much correction you actually need and what feels comfortable for you to work with.
5 Reasons Why You’re Not Color Correcting Right
1. You’re Using the Wrong Shade for Your Skin Tone
Myth: dark skin automatically means orange color corrector. I see this everywhere, and it drives me absolutely crazy because it’s just not true. Color correction is definitely not a one-size-fits-all situation, even when we’re talking about the same color family.
Yes, orange is typically your best friend if you have deeper skin, but here’s the plot twist. There’s a whole spectrum of orange out there. Not every orange is going to work for every person, and that’s where things get tricky. If you’re on the lighter side, that intense, vibrant orange is going to make you look like you used Ice Spice’s hair dye as face paint. And if you’re deeper-toned, that barely-there peachy orange isn’t going to do you any favors either.
The secret? Find the orange that’s closest to your actual skin tone. Now, I’m not saying it needs to be a perfect foundation match. That’s not the point here. But it should be in the same neighborhood. It can be a shade or two darker than your natural tone, but never lighter, or you’ll end up looking ashy and casket ready.
Color Corrector Guide by Skin Tone:
| Skin Tone | Best Color Corrector | Why It Works |
|---|---|---|
| Fair to Light | Peach or Light Orange | Neutralizes purple/blue undertones without looking muddy |
| Medium to Tan | Orange or Deep Peach | Cancels blue and purple while complementing your natural undertones |
| Deep Brown | Deep Orange or Red-Orange | Strong enough to neutralize darker discoloration |
| Very Deep | Red-Orange or Deep Red | Provides the intensity needed for significant discoloration |
You need to match the intensity of your corrector to both your skin tone and the level of discoloration you’re dealing with. A whisper-light peach isn’t going to touch deep hyperpigmentation, but a bold, bright orange is going to look obvious and artificial on lighter skin tones.
2. You’re Going Overboard With Color Correction
Here’s where I see people really mess up: they treat color corrector like it’s concealer and just pile it on. But here’s the truth. Color correctors are concentrates. They’re potent, targeted products designed to do a specific job with just a little bit of product. When you slather them all over your face like you’re frosting a cake, you end up looking like you’re wearing a mask instead of makeup.
Let me break down the right way to apply different amounts:
- For under-eyes: This is crucial. You only apply color corrector to the darkest part of the circle. Not the entire under-eye area like you would with concealer. Just the spots that actually need correcting.
- For small dark spots: Use a small, precise brush to apply just to the spot itself
- For larger hyperpigmentation: Yes, you can cover the entire area, but build up thin layers rather than applying one thick layer
Best Tools for Application:
- Your finger: Great for warming up cream correctors and gentle blending
- Small flat brush: Perfect for precise application on spots
- Small fluffy brush: Ideal for blending edges seamlessly
3. You’re Cheaping Out (In All the Wrong Ways)
Not all color correctors are created equal. And unfortunately, the really cheap, poor-quality ones are often the culprits behind that orange mask effect that makes you want to give up on color correcting entirely.
Here’s what separates the good from the not-so-good:
- A quality color corrector should blend like a dream without dragging or skipping across your skin
- It should set in place without transferring all over everything
- The coverage should be buildable, meaning you can add more if you need it without everything getting cakey
- And when you apply your foundation over it, everything should play nicely together without separating or pilling up.
You really don’t need to break the bank here. Some of the best color correctors I’ve used have come from the drugstore. The trick is doing your homework. Look for products with solid reviews, specifically from people who have your skin tone. Their experiences are going to be way more relevant than a generic five-star rating.
4. You’ve Got Your Timing All Wrong
Your color corrector needs to go on clean, moisturized skin. After primer if that’s part of your routine, but always, always before foundation and concealer. Applying it over foundation won’t give you the coverage you need, and it can cause your base makeup to move around and look patchy.
Here’s the order that actually works:
- Skincare/moisturizer (let it absorb completely)
- Primer (if you use one, let it set)
- Color corrector (blend it out seamlessly)
- Foundation (apply as normal)
- Concealer
- Setting powder (to lock everything in place)
This order ensures that each product can do its job properly without interfering with the others.
5. You’re Only Using Orange Color Corrector
Just because orange is your go-to for hyperpigmentation and under-eye circles doesn’t mean it’s the only color corrector you should have in your kit. Black women can absolutely benefit from green, pink, and lavender color correctors for specific concerns.
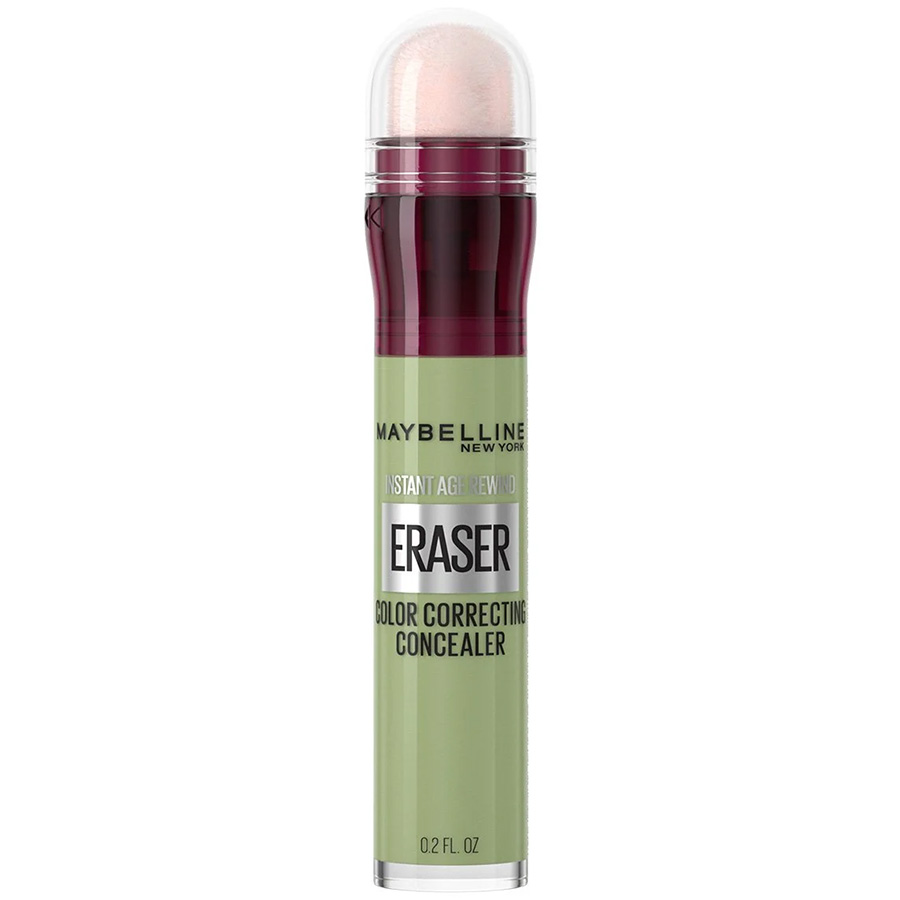
Green color correctors are perfect for:
- Covering red acne and breakouts (yes, they can show up red on dark skin too)
- Neutralizing redness from razor bumps or ingrown hairs
- Reducing the appearance of post-inflammatory erythema (those red marks left after acne heals)
Pink/Lavender color correctors work beautifully for:
- Brightening areas that look dull or ashy
- Adding luminosity to the high points of your face (cheekbones, nose bridge, forehead center)
- Counteracting yellow or sallow undertones in specific areas
- Creating a subtle glow under foundation
The trick is using them strategically. You might use orange under your eyes, green on a breakout, and pink on your cheekbones all in the same makeup look. Don’t limit yourself to just one color when you could be addressing multiple skin concerns with the right combination.
Color correction really can be a total game-changer for getting that smooth, even complexion even @huda would be jealous. But like any good technique, it requires understanding what you’re working with and adapting it to your specific needs. The key is finding the right intensity of color corrector for your skin tone, applying it strategically instead of everywhere, and blending it seamlessly before you move on to the rest of your base.
With a little practice and the right products (which don’t have to cost a fortune), you can finally say goodbye to that dreaded orange mask effect and hello to the flawless base you’ve been trying to achieve. Trust me, once you get the hang of it, you’ll wonder how you ever did your makeup without it.